Create an Email Template
Introduction
Section titled “Introduction”This article explains how to create an email template in BetterMerge. You’ll learn how to compose your email, use merge tags for personalization, and format it using the Rich-Text editor.
How to Create an Email Template
Section titled “How to Create an Email Template”Follow these steps to create an email template in BetterMerge.
Step 1: Go to My Templates
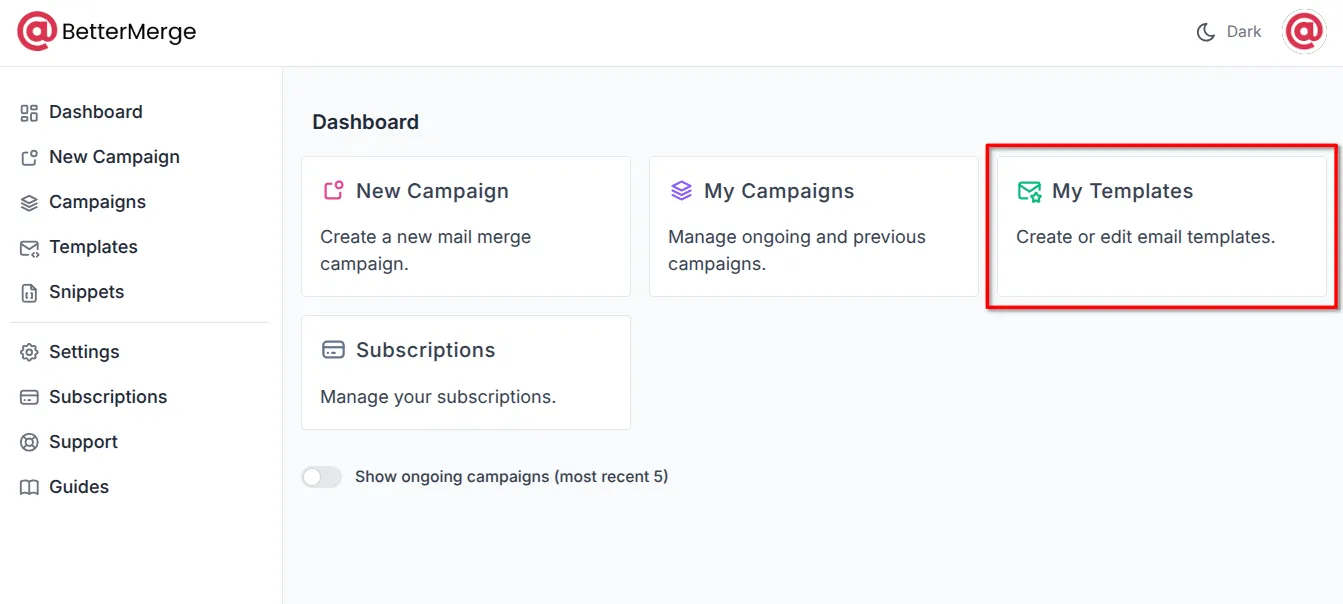
Section titled “Step 1: Go to My Templates”Log in to your BetterMerge dashboard and click on My Templates.
Step 2: Create a New Template
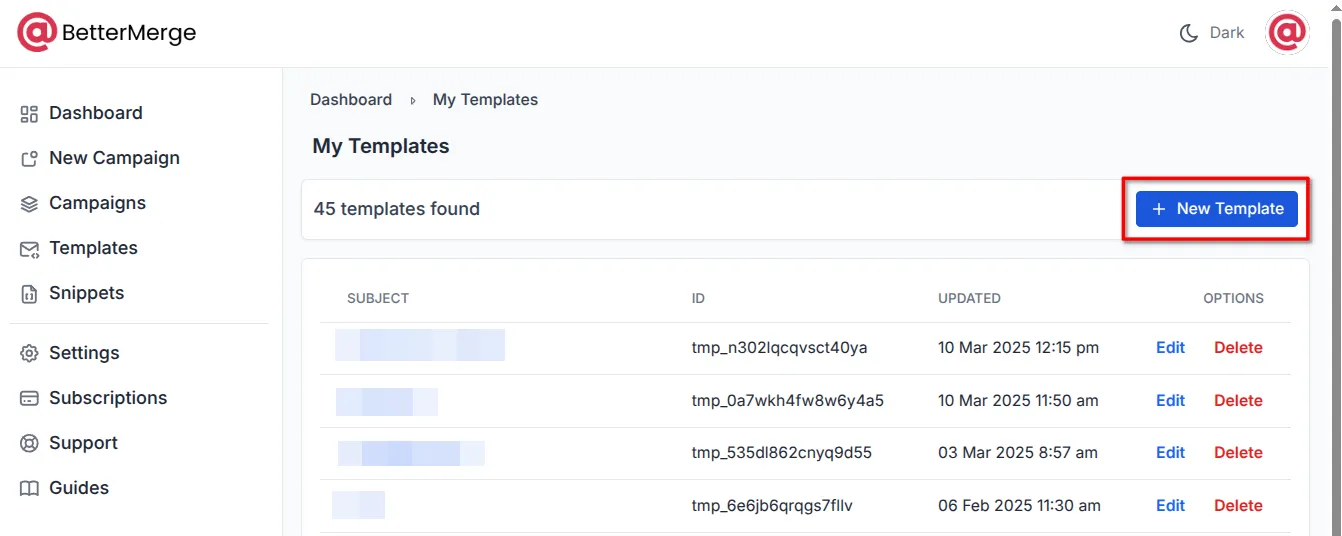
Section titled “Step 2: Create a New Template”Click on the New Template button to create a new email template.
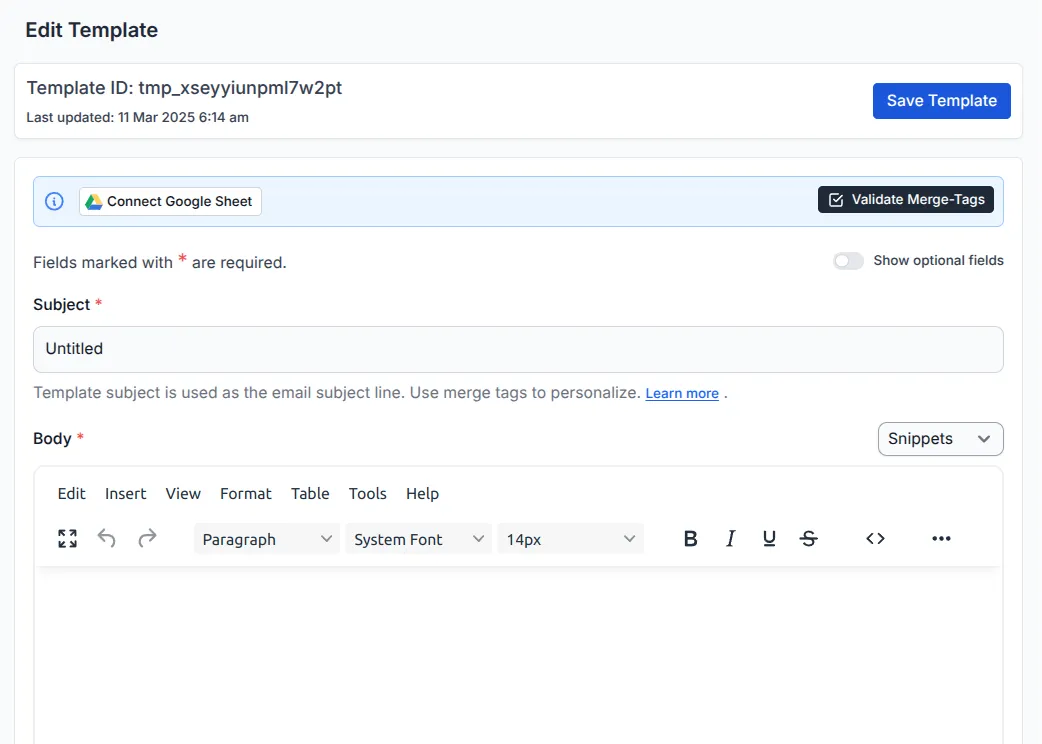
This opens the Template Editor page, where you can fill in the following fields:
- Template name (optional)
- Subject line (required)
- Pre-header text (optional)
- Email body (required)
- Attachments (optional)

Step 3 (Optional): Connect Your Google Sheet
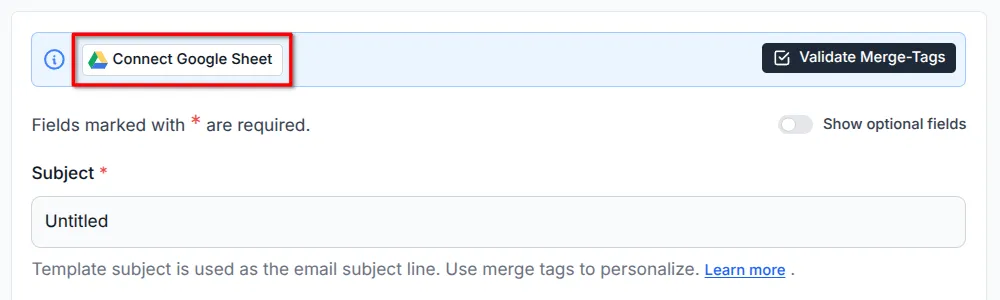
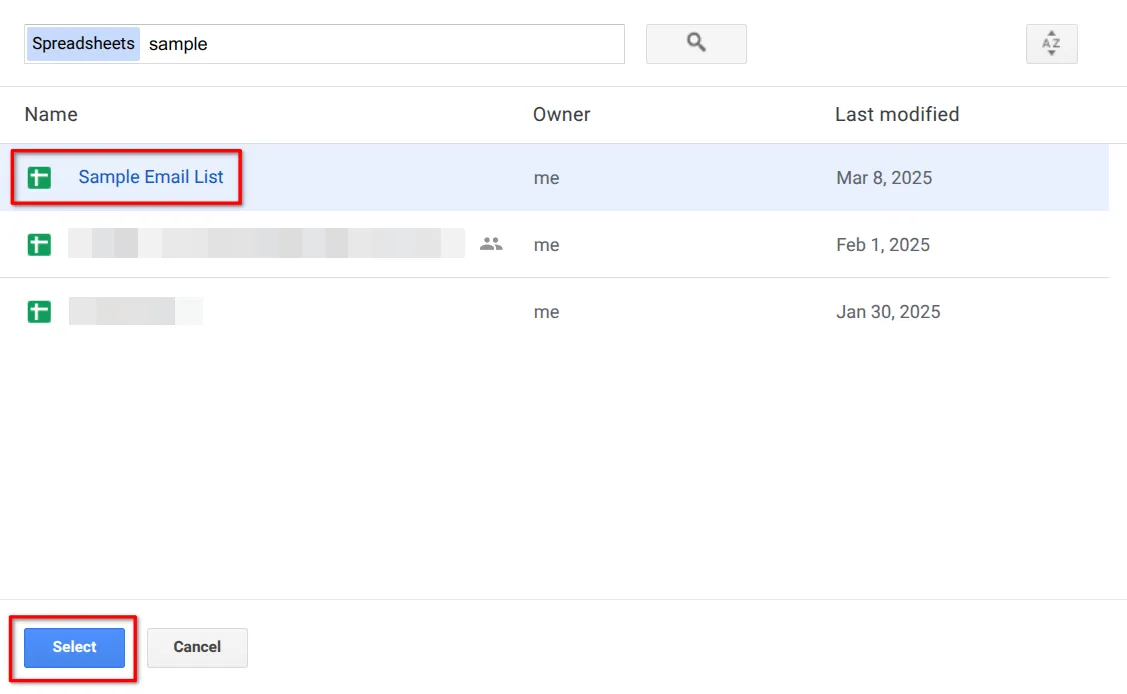
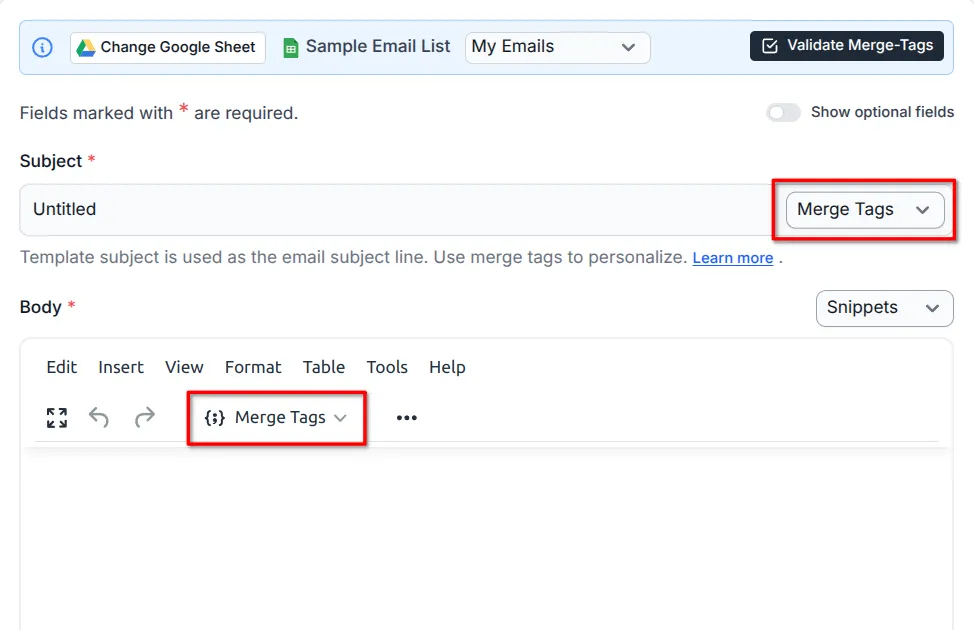
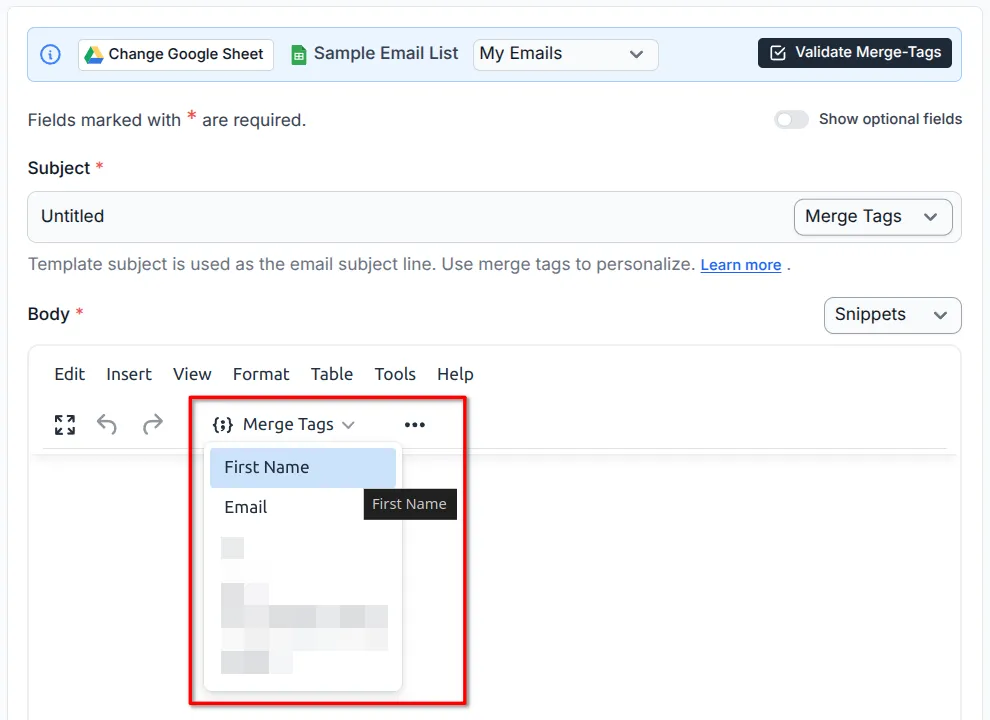
Section titled “Step 3 (Optional): Connect Your Google Sheet”You can connect your Google Sheet contact list. Once connected, a Merge Tags dropdown button will appear in the subject line input field and the email body editor toolbar. This makes inserting merge tags easier and reduces the chance of errors when manually typing the merge tags (e.g., {{First Name}}).
Step 4: Enter the Subject and Body of Your Email
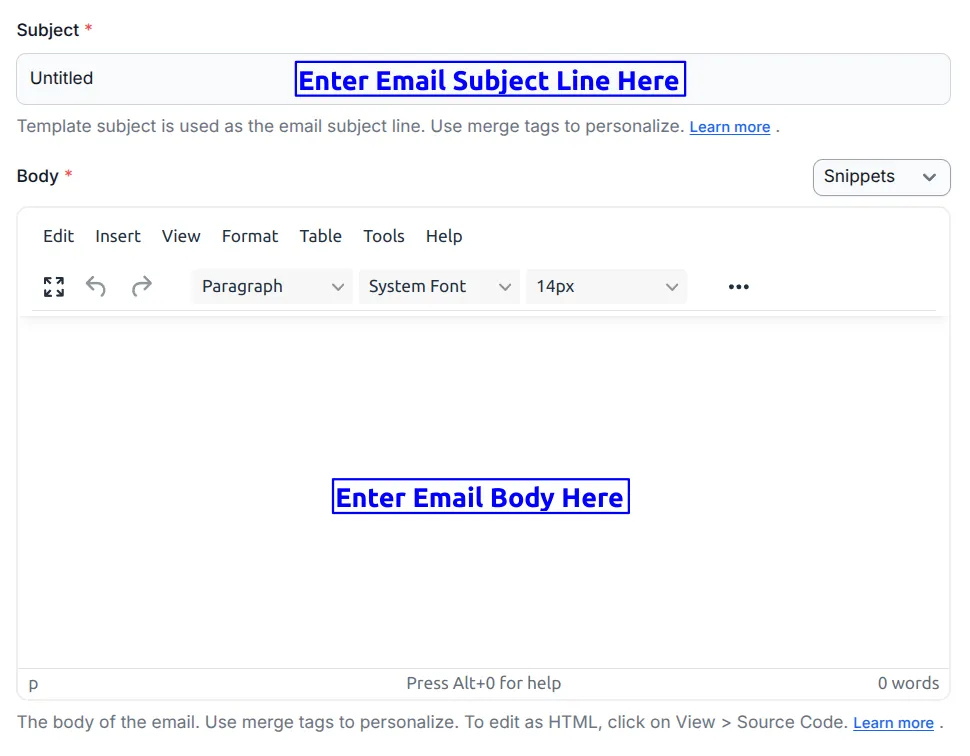
Section titled “Step 4: Enter the Subject and Body of Your Email”Enter your subject line and email body. Both fields are required.
Step 5: Insert Merge Tags into the Subject Line
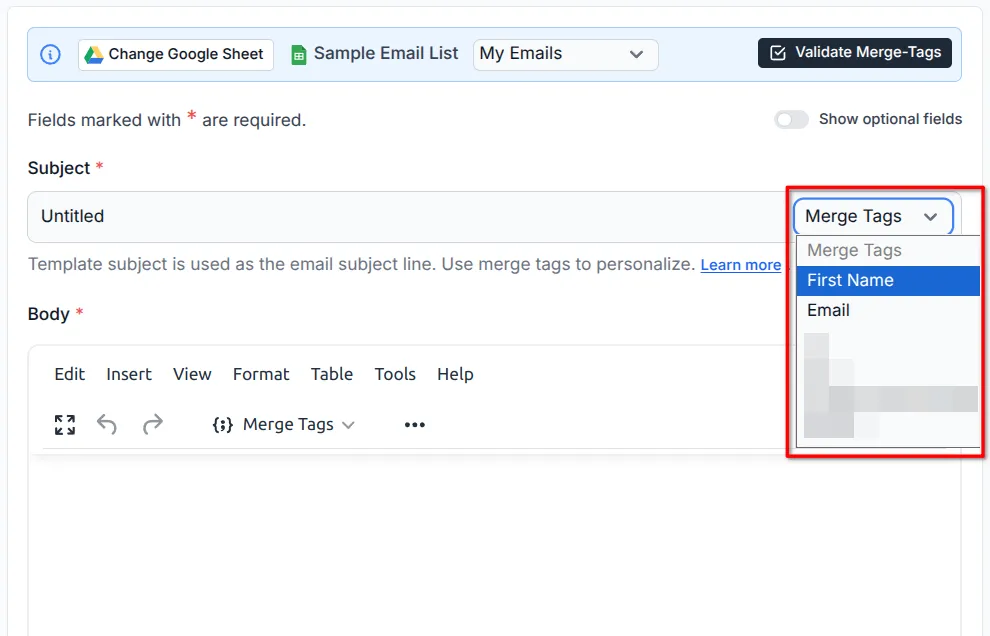
Section titled “Step 5: Insert Merge Tags into the Subject Line”To personalize your subject line, insert merge tags in one of two ways:
- Manually, using the format
{{ Column Name }} - Using the Merge Tags dropdown (if you’ve connected your Google Sheet)
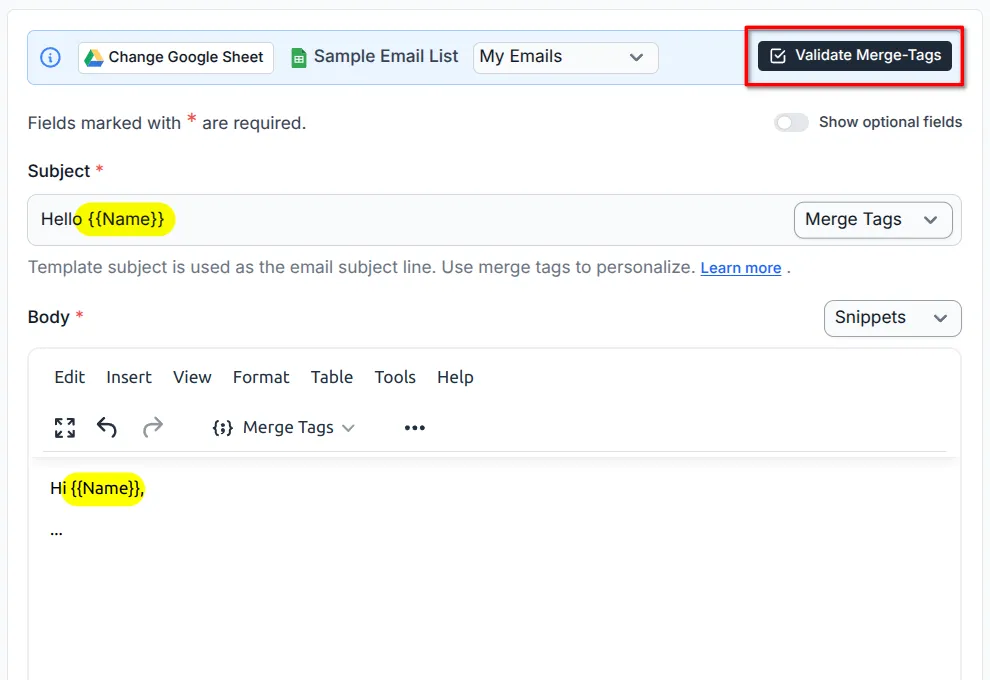
Step 6: Insert Merge Tags into the Email Body
Section titled “Step 6: Insert Merge Tags into the Email Body”You can also use merge tags in the email body the same way as in the subject line.
Step 7: Validate the Merge Tags
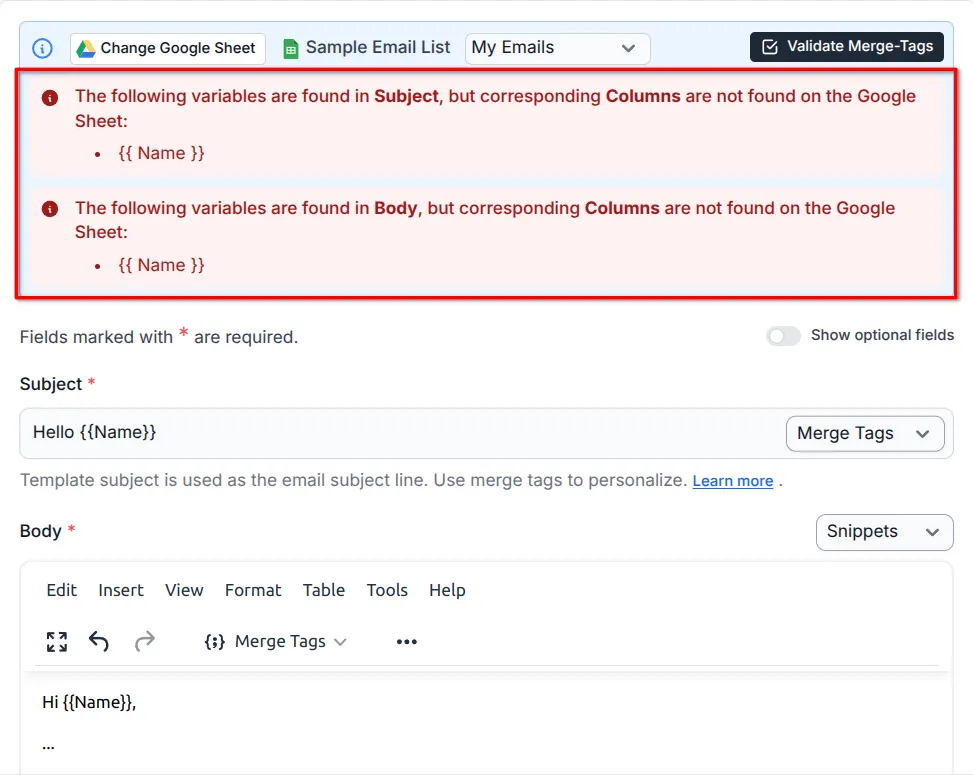
Section titled “Step 7: Validate the Merge Tags”If you’ve connected a Google Sheet, you can validate your merge tags. This checks for any discrepancies between the merge tags in your template and the column names in your sheet.
Click the Validate Merge Tags button to review any issues and fix them before sending your campaign.
Step 8: Save Your Template
Section titled “Step 8: Save Your Template”Finally, scroll to the top and click Save Template. Always save your template after making changes—auto-save is coming soon!
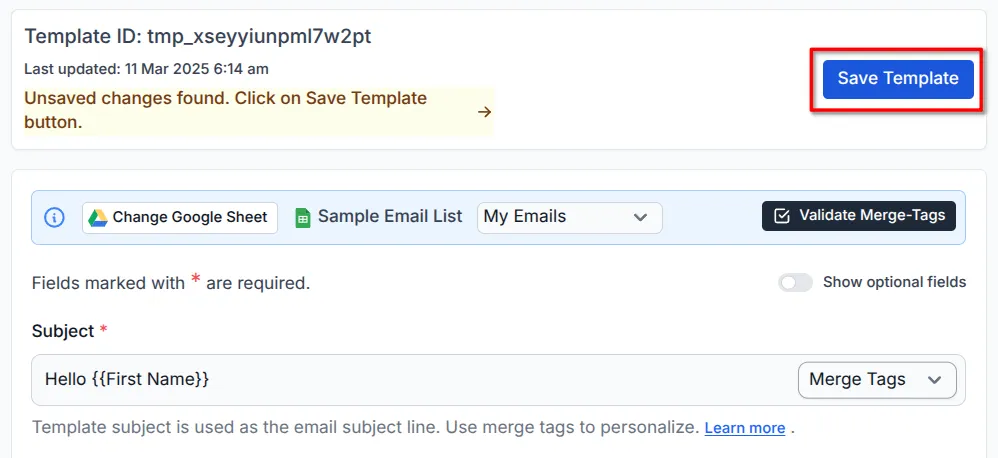
Once saved, your email template is ready to be used in a campaign.
Best Practices for Email Templates
Section titled “Best Practices for Email Templates”- Keep subject lines clear and engaging.
- Use merge tags wisely—overusing them can make emails look unnatural.
- Preview and test your template before sending.
- Avoid spam-triggering words for better deliverability.
- Keep your design simple for readability across all devices.
- If a campaign is already in progress, avoid editing the template unless you want some recipients to get a different version of the email.
Conclusion
Section titled “Conclusion”Creating an email template in BetterMerge is simple and essential for sending campaigns. By using merge tags, formatting options, and validation tools, you can ensure your emails are personalized and error-free. Now that your template is ready, you can move on to setting up your email campaign.
New to BetterMerge? Start free — 50 emails/day, no credit card. Questions? Contact support.
BetterMerge is an independent product not affiliated with, endorsed by, or connected to Google LLC. Gmail, Google Sheets, Google Workspace, and Google Workspace Marketplace are trademarks of Google LLC.