Add Images to Your Email Template
Introduction
Section titled “Introduction”This guide explains how to add images to your email templates in BetterMerge. You can insert images using a URL or upload them directly from your computer.
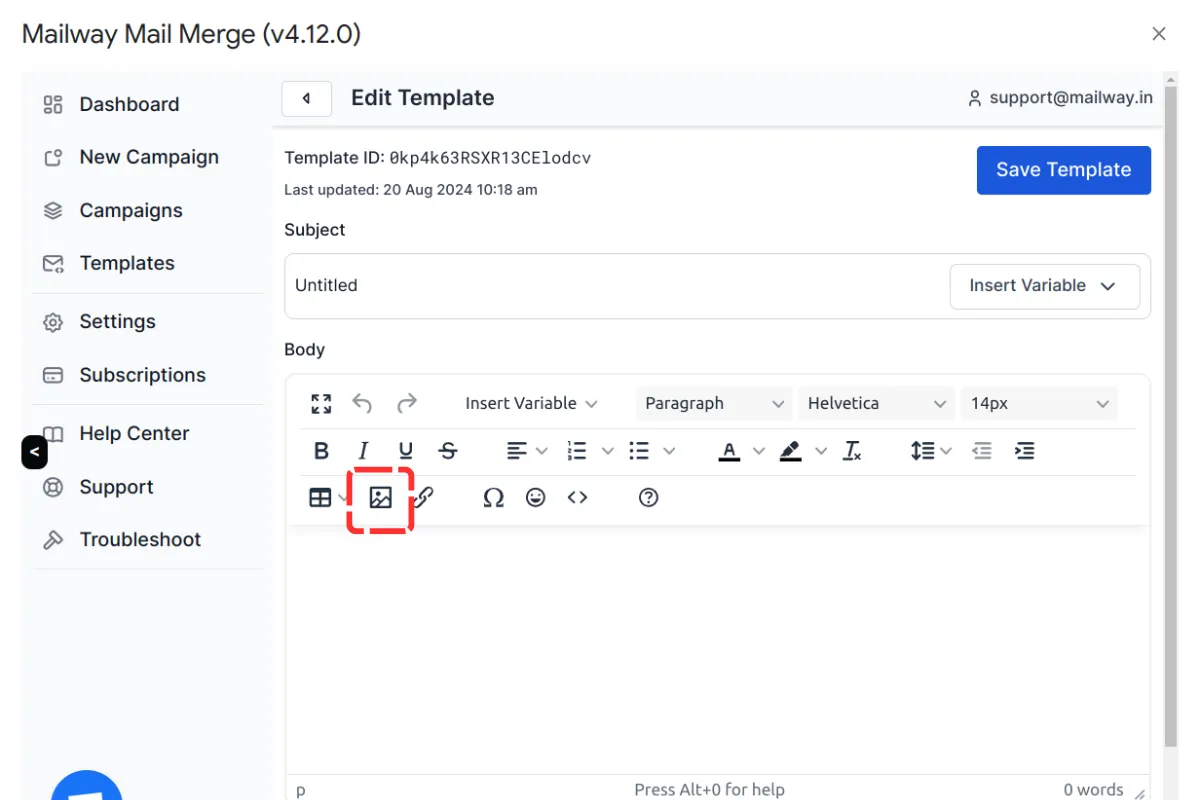
Step 1: Open the Image Tool
Section titled “Step 1: Open the Image Tool”Log in to your BetterMerge dashboard. Next, create a new template or edit an existing one. In the Rich-Text Editor toolbar, click the image icon.
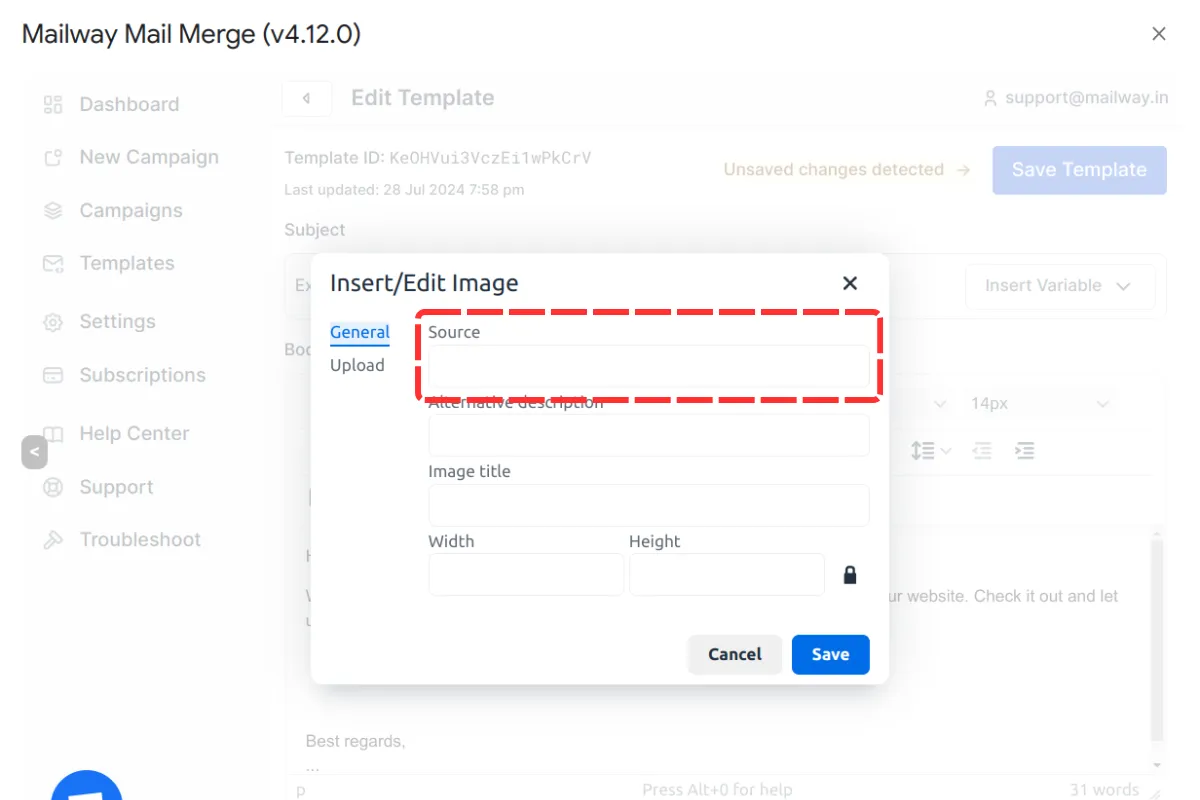
Step 2: Choose Your Image Source
Section titled “Step 2: Choose Your Image Source”A window will appear with two options:
- General: Add an image by entering a URL.
- Upload: Upload an image from your computer.
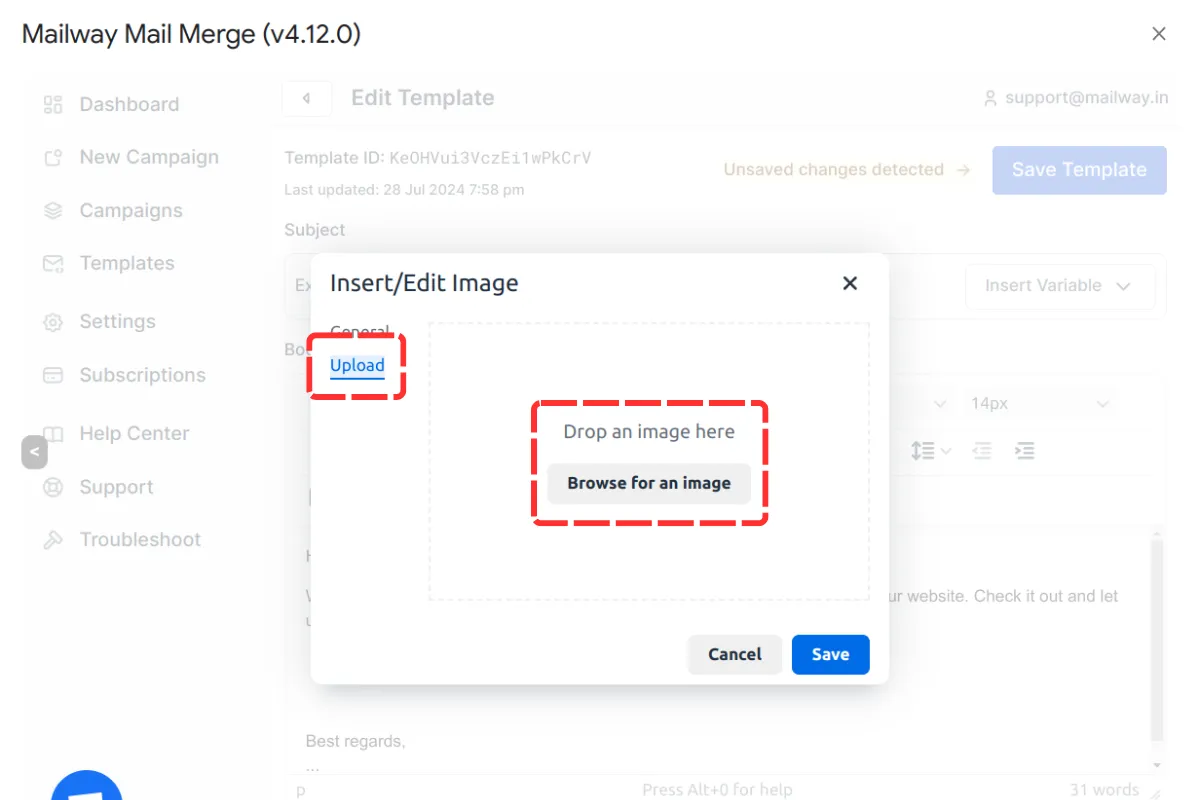
Step 3: Upload an Image
Section titled “Step 3: Upload an Image”To upload an image, click the Upload tab. Drag and drop an image into the designated area or click Browse for an image to select a file from your computer.
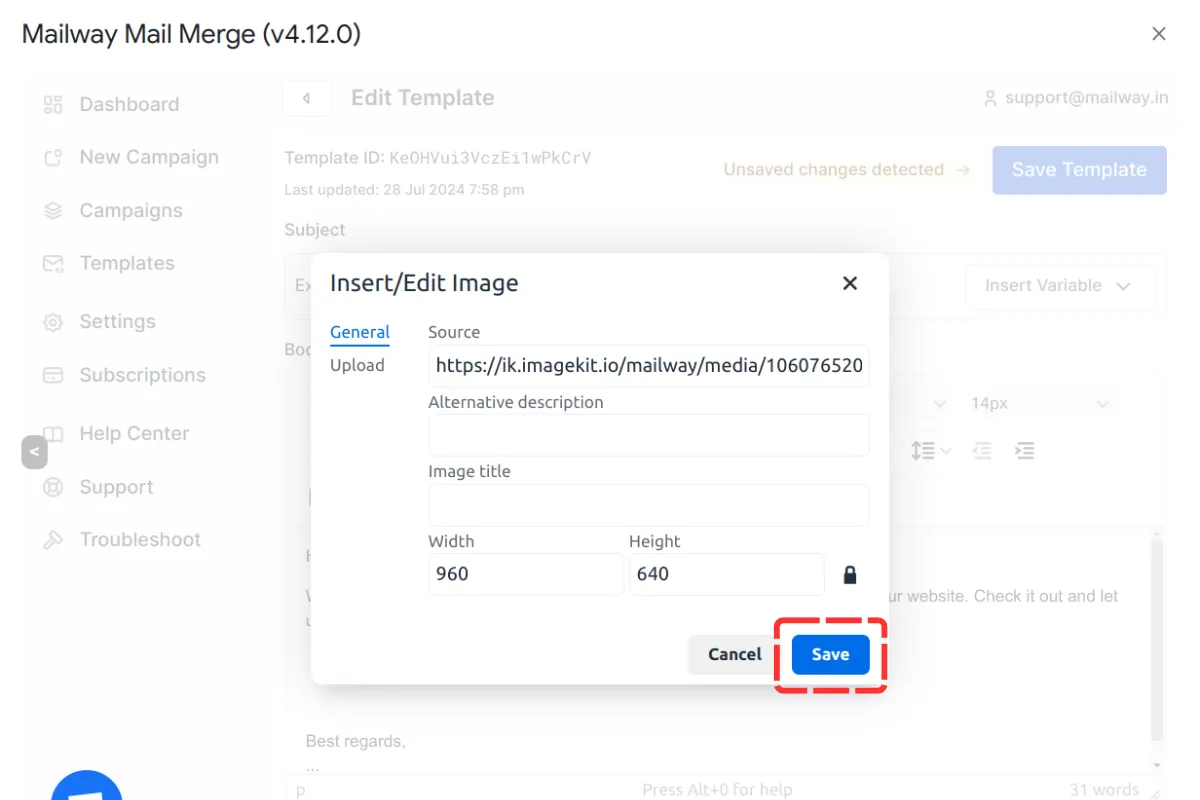
Step 4: Set Image Details
Section titled “Step 4: Set Image Details”After adding the image, you can enter a description and title. Adjust the width and height as needed, then click Save to insert it into your template.
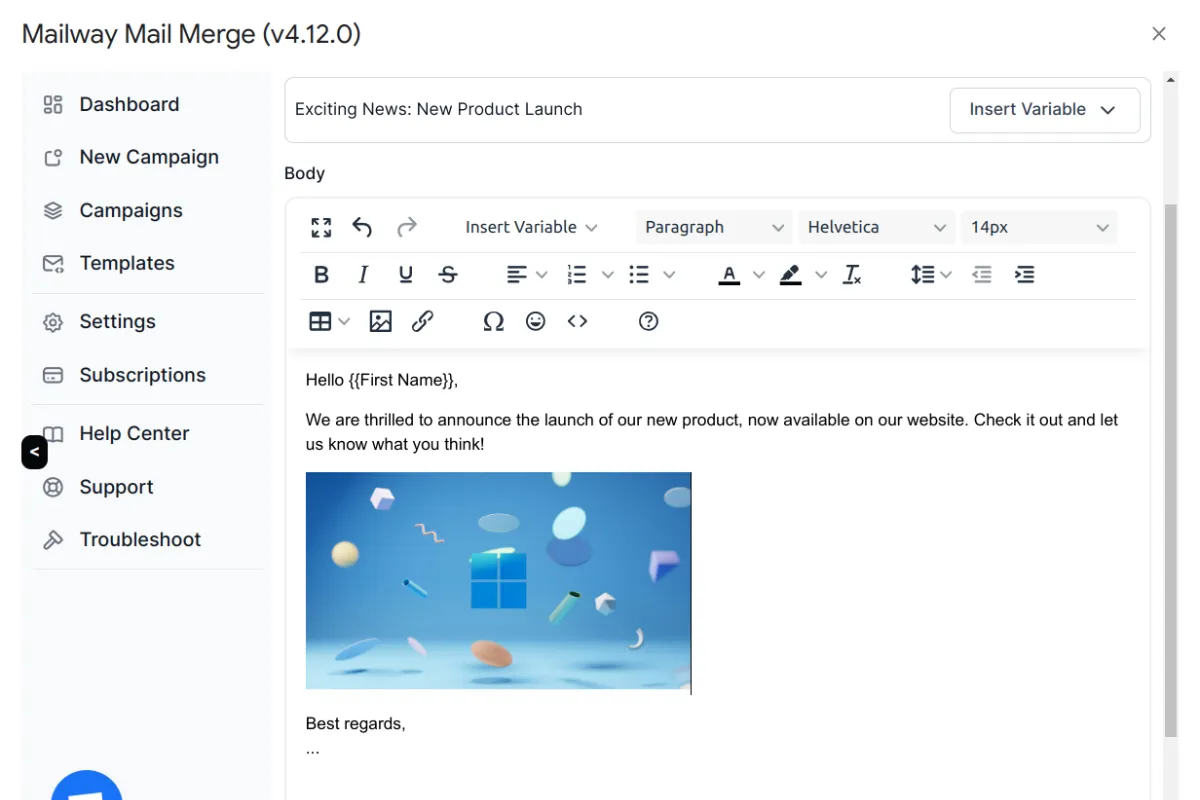
Step 5: Verify the Image
Section titled “Step 5: Verify the Image”The image will now appear in the email body. You can adjust its placement if necessary.
Conclusion
Section titled “Conclusion”You can now add images to your email templates in BetterMerge using a URL or by uploading from your computer. This feature helps enhance your emails with visuals when needed.
New to BetterMerge? Start free — 50 emails/day, no credit card. Questions? Contact support.
BetterMerge is an independent product not affiliated with, endorsed by, or connected to Google LLC. Gmail, Google Sheets, Google Workspace, and Google Workspace Marketplace are trademarks of Google LLC.