Add Personalized Images
Introduction
Section titled “Introduction”In this article, you’ll learn how to add personalized images to your mail merge campaigns using BetterMerge. You’ll link unique images to each recipient in Google Sheets, configure your email template, and preview before sending.
Step 1: Prepare Your Google Sheets
Section titled “Step 1: Prepare Your Google Sheets”Begin by preparing your Google Sheets to manage the personalized images:
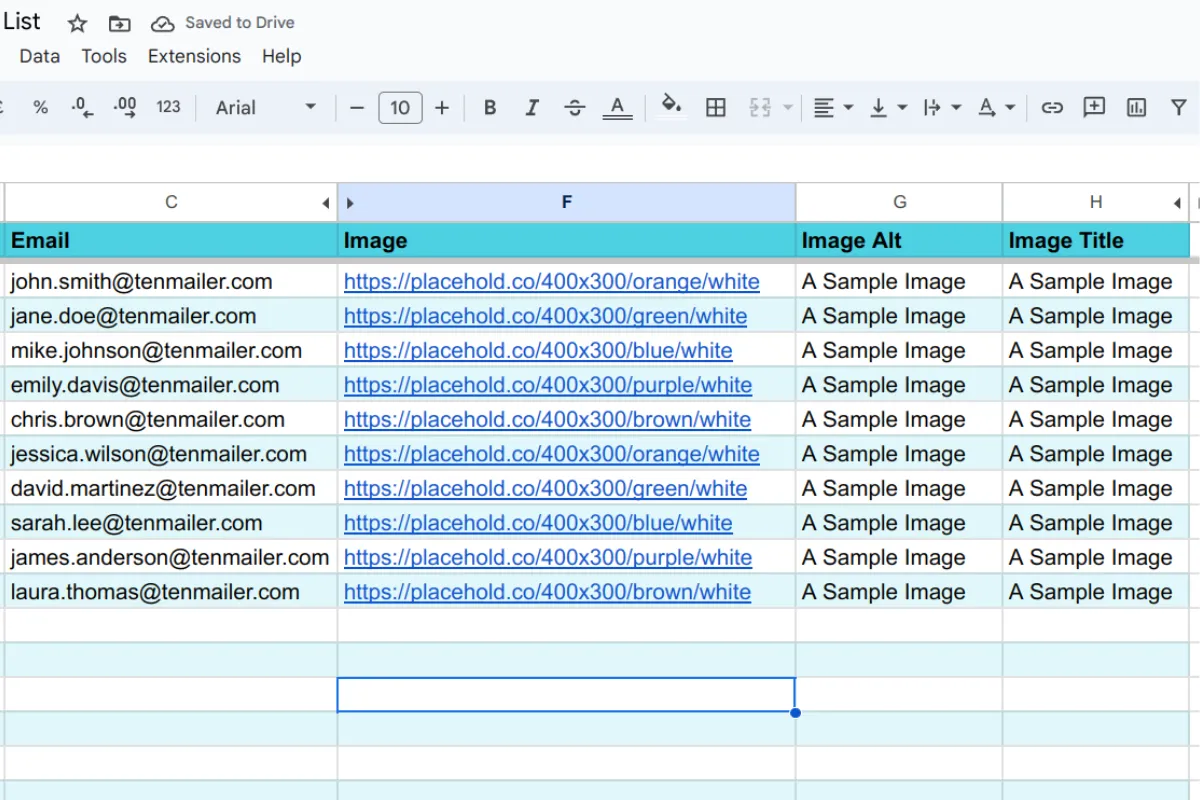
- Add Columns for Image Details:
- Create a column labeled “Image” (or a name of your choice) to store the URLs of the images you want to include.
- Optionally, add columns for “Image Alt” to specify alternative text for the images, and “Image Title” for the title that will display when users hover over the image.
This setup allows you to associate each recipient with a unique image and provides additional information such as alternative text and titles for better accessibility and context.
Step 2: Create and Configure Your Email Template
Section titled “Step 2: Create and Configure Your Email Template”Next, create a new email template in BetterMerge:
- Create a New Template:
- Follow the guide to create a new template.
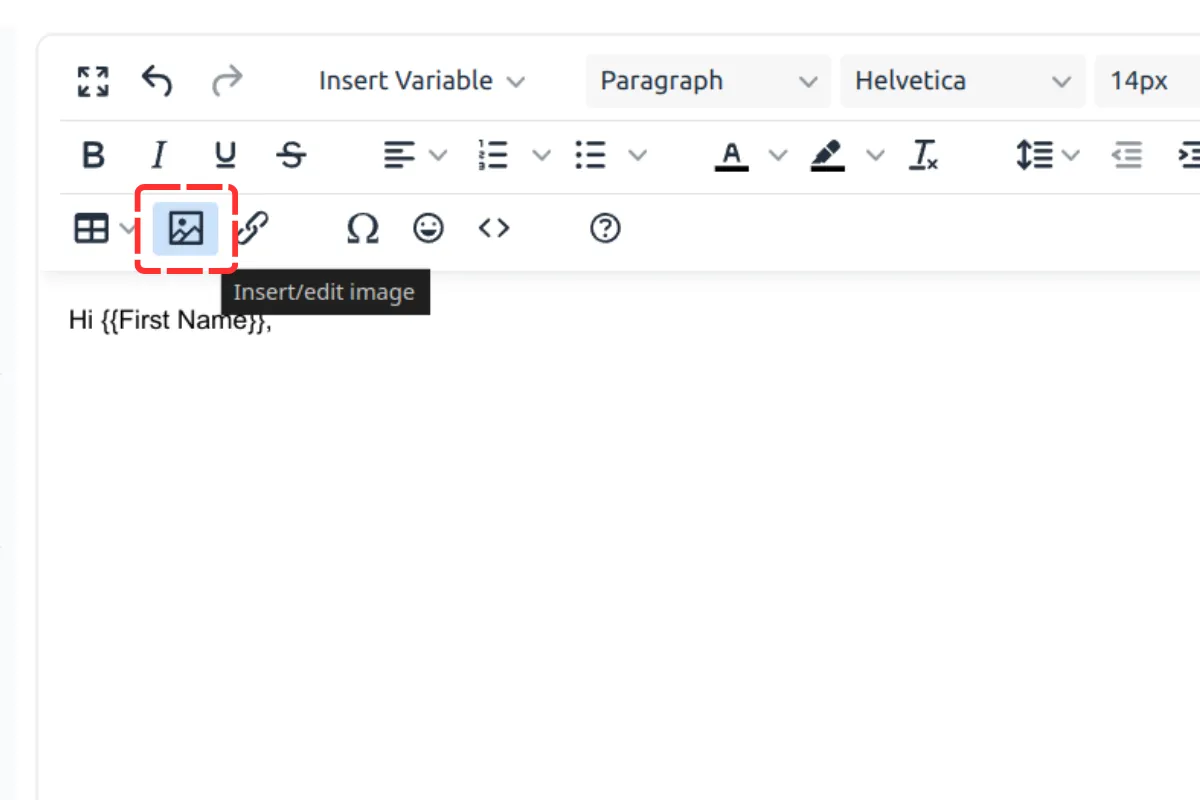
- In the template editor, locate the “Insert/edit image” tool and click on it. This will open a popup dialog for configuring your image settings.
- Configure Image Settings:
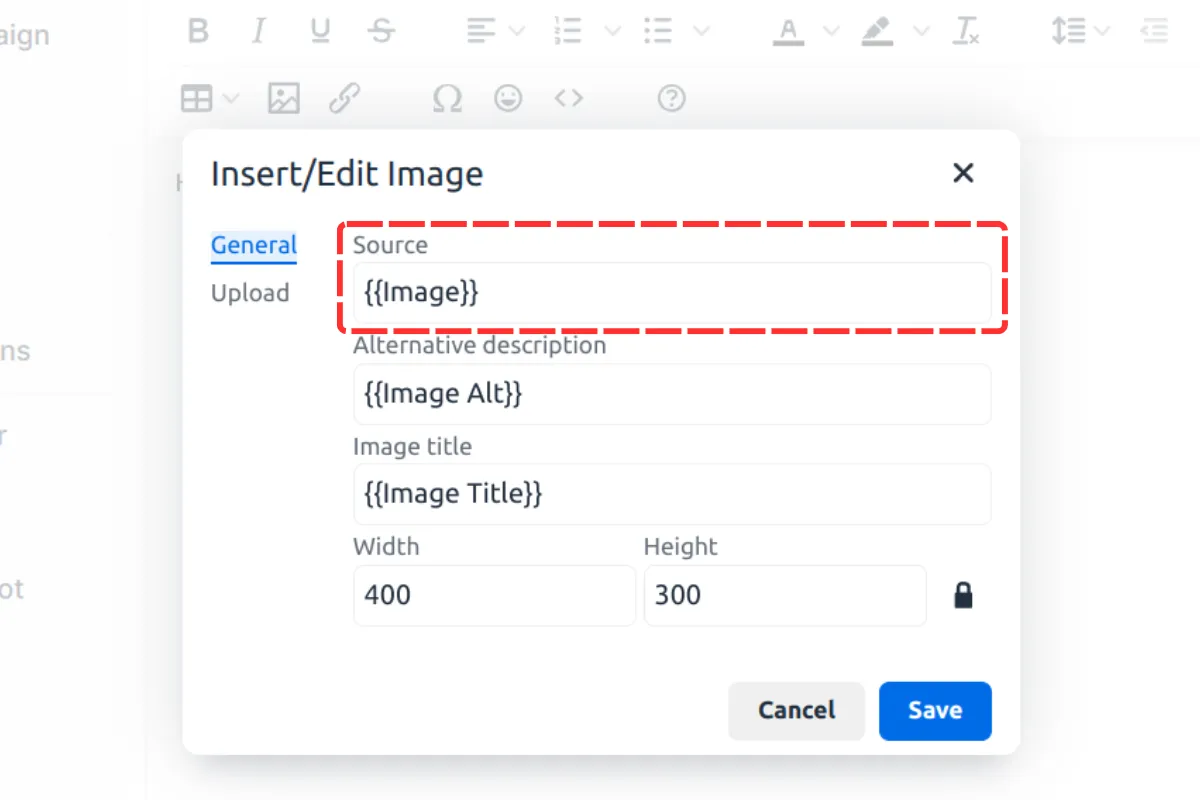
- In the “Insert/Edit Image” popup dialog, enter
{{Image}}in the “Source” field to specify the URL for the image. - Enter
{{Image Alt}}in the “Alternate description” field to provide alternative text for the image, which helps with accessibility. - Enter
{{Image Title}}in the “Image title” field if you want to add a title that appears when users hover over the image. - Set the “Width” and “Height” fields according to your design needs, using pixel values.
- In the “Insert/Edit Image” popup dialog, enter
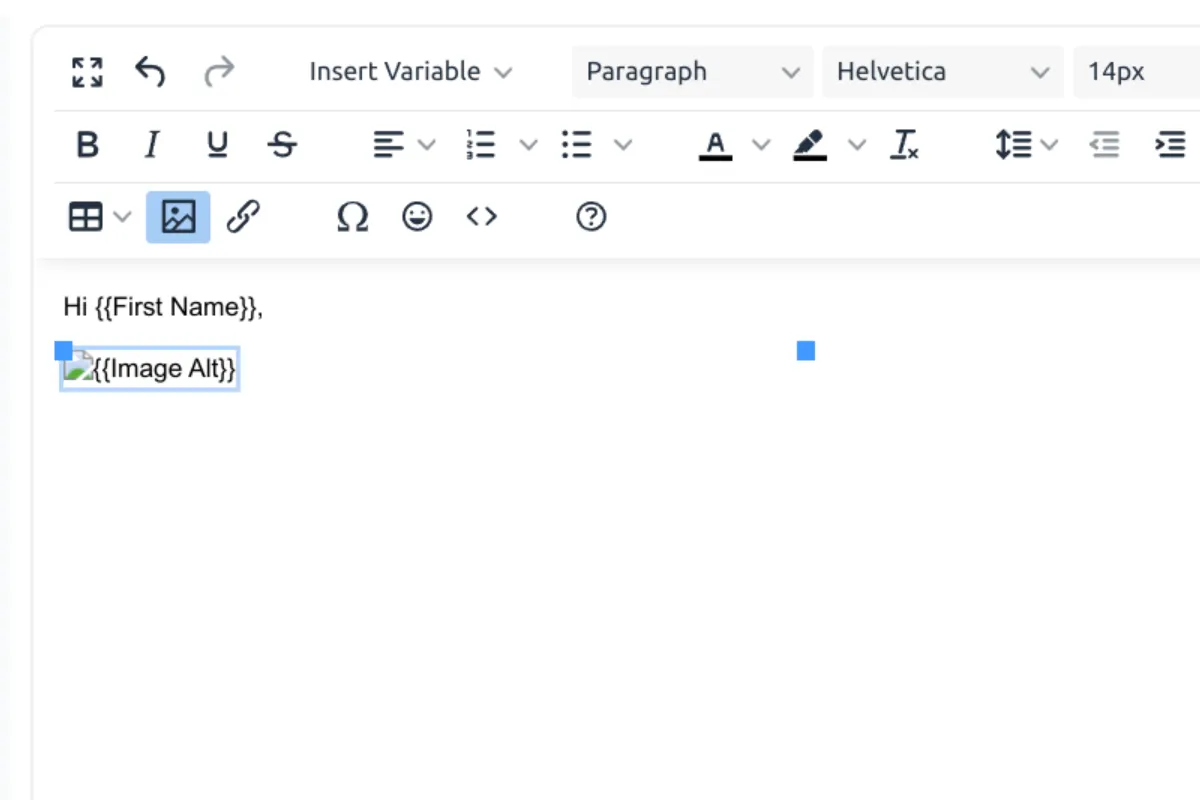
Click “Save” to insert the image into your template.
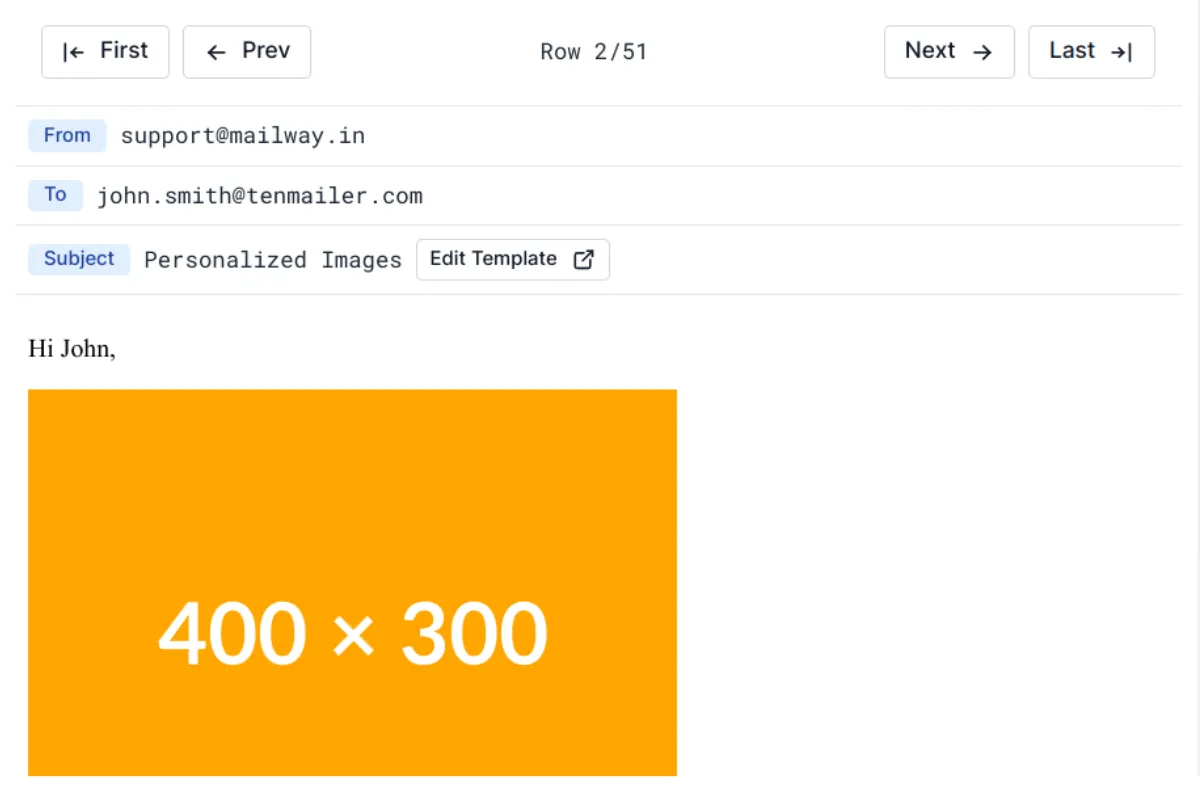
The image will not be visible in the template editor itself; instead, you will see the alternate text and a placeholder for the image.
Step 3: Preview Your Campaign
Section titled “Step 3: Preview Your Campaign”After setting up your template, create a new campaign:
- Create and Preview Your Campaign:
- Follow the guide to create a new campaign.
- On the preview page, you will be able to see how the personalized images appear for each recipient. This helps you verify that the images are correctly displayed and formatted before sending out the campaign.
Frequently Asked Questions
Section titled “Frequently Asked Questions”Why use personalized images?
Section titled “Why use personalized images?”Personalized images enhance the visual appeal of your emails and make them more relevant to each recipient, increasing engagement and improving campaign effectiveness.
What types of image files are supported?
Section titled “What types of image files are supported?”You can use any publicly accessible image file, including JPEG, PNG, and GIF. Ensure that image URLs are properly formatted and accessible.
How should I format image URLs in Google Sheets?
Section titled “How should I format image URLs in Google Sheets?”Image URLs must be complete and start with http:// or https://. They should point to publicly accessible images.
Can I use the same image for all recipients?
Section titled “Can I use the same image for all recipients?”Yes, you can insert a static image URL directly into your template if you do not need personalization. Learn how to add images.
Why don’t I see the image in the template editor?
Section titled “Why don’t I see the image in the template editor?”The template editor does not display images. Instead, you will see a placeholder with the alternate text. The image will be visible when previewing or sending the campaign.
Can I add custom alt text and image titles?
Section titled “Can I add custom alt text and image titles?”Yes, you can specify alt text and image titles in the “Insert/Edit Image” dialog. This improves accessibility and provides additional context.
Is there a limit to the number of personalized images I can use?
Section titled “Is there a limit to the number of personalized images I can use?”There is no set limit, but each image URL must be unique and correctly formatted in Google Sheets.
What should I do if an image link is broken or incorrect?
Section titled “What should I do if an image link is broken or incorrect?”If an image link is invalid, the recipient will not see the image. Verify all links before sending your campaign to ensure they are working properly.
Conclusion
Section titled “Conclusion”You have learned how to add personalized images to your Gmail mail merge campaigns using BetterMerge. By linking unique images for each recipient in Google Sheets, you can make your emails more relevant and engaging. Make sure your image URLs are properly formatted and publicly accessible to ensure they display correctly.
New to BetterMerge? Start free — 50 emails/day, no credit card. Questions? Contact support.
BetterMerge is an independent product not affiliated with, endorsed by, or connected to Google LLC. Gmail, Google Sheets, Google Workspace, and Google Workspace Marketplace are trademarks of Google LLC.